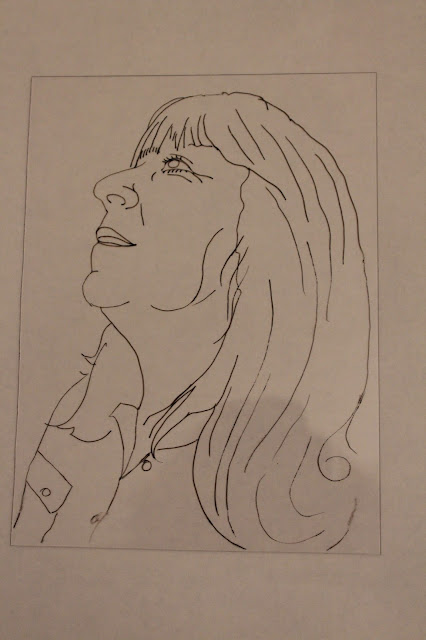
Drypoint printing. Described to me as the closest you will get to an etching without using a copper plate. It creates a lovely, soft, almost pencil like print. The only disadvantage is that you need a printing press so need to have access to one to create the final image.
I don't usually take selfies but the theme of the 10 week print course has been self portraits so I have had to take lots of photos of myself which has felt very alien.
I chose this image for my first drypoint print. The finished print will face the same way as the original image.
Use a drypoint needle to scratch the image into the perspex sheet which ideally should be 0.75mm -1mm thick. It does begin to hurt your hand after a while so I may invest in a electric or battery operated one in the future.
First place your chosen image under the perspex sheet and trace the main outline & details using a permanent marker pen.
Reverse the perspex & use the drypoint needle to scratch the image out using the pen lines as a guide. Draw the needle towards use firmly & rotate the perspex to get continuous even lines. Lots of other tools can be used to create different marks on the surface. As you can see from the image below I have added more detail to the hair. The deeper the cut lines, the more defined the finished print will be.
Ideally place the image on a light box or hold it up to the light to see where you have worked or gently rub the surface to feel where the cut lines are.
The perspex is then inked up using an oil based printing ink applied with an applicator (or a piece of thick card) to the scratched surface. The ink will gather in the cut lines & scrim material is then rubbed in a circular motion to remove the excess ink. The image below shows the ink removed on the upper section of the perspex partway through the process. It's very messy so wear an apron & use disposable gloves.
My first drypoint print.
The perspex leaves a lovely indentation similar to a copper plate etching.
The paper needs to be presoaked for at least 5-10 mins before printing & part dried (no visible water on the surface) by placing it between blotting paper & pressing with a clean ink roller. Remove your gloves & make sure your hands are ink free before handling the paper.
After the first image was printed, a small amount of white spirit was poured onto the perspex plate to make the ink run to make an experimental print.
Perspex plate before experimental print.
Test print & experimental print.
Great fun!


